
Printmaking
Carving art to share.
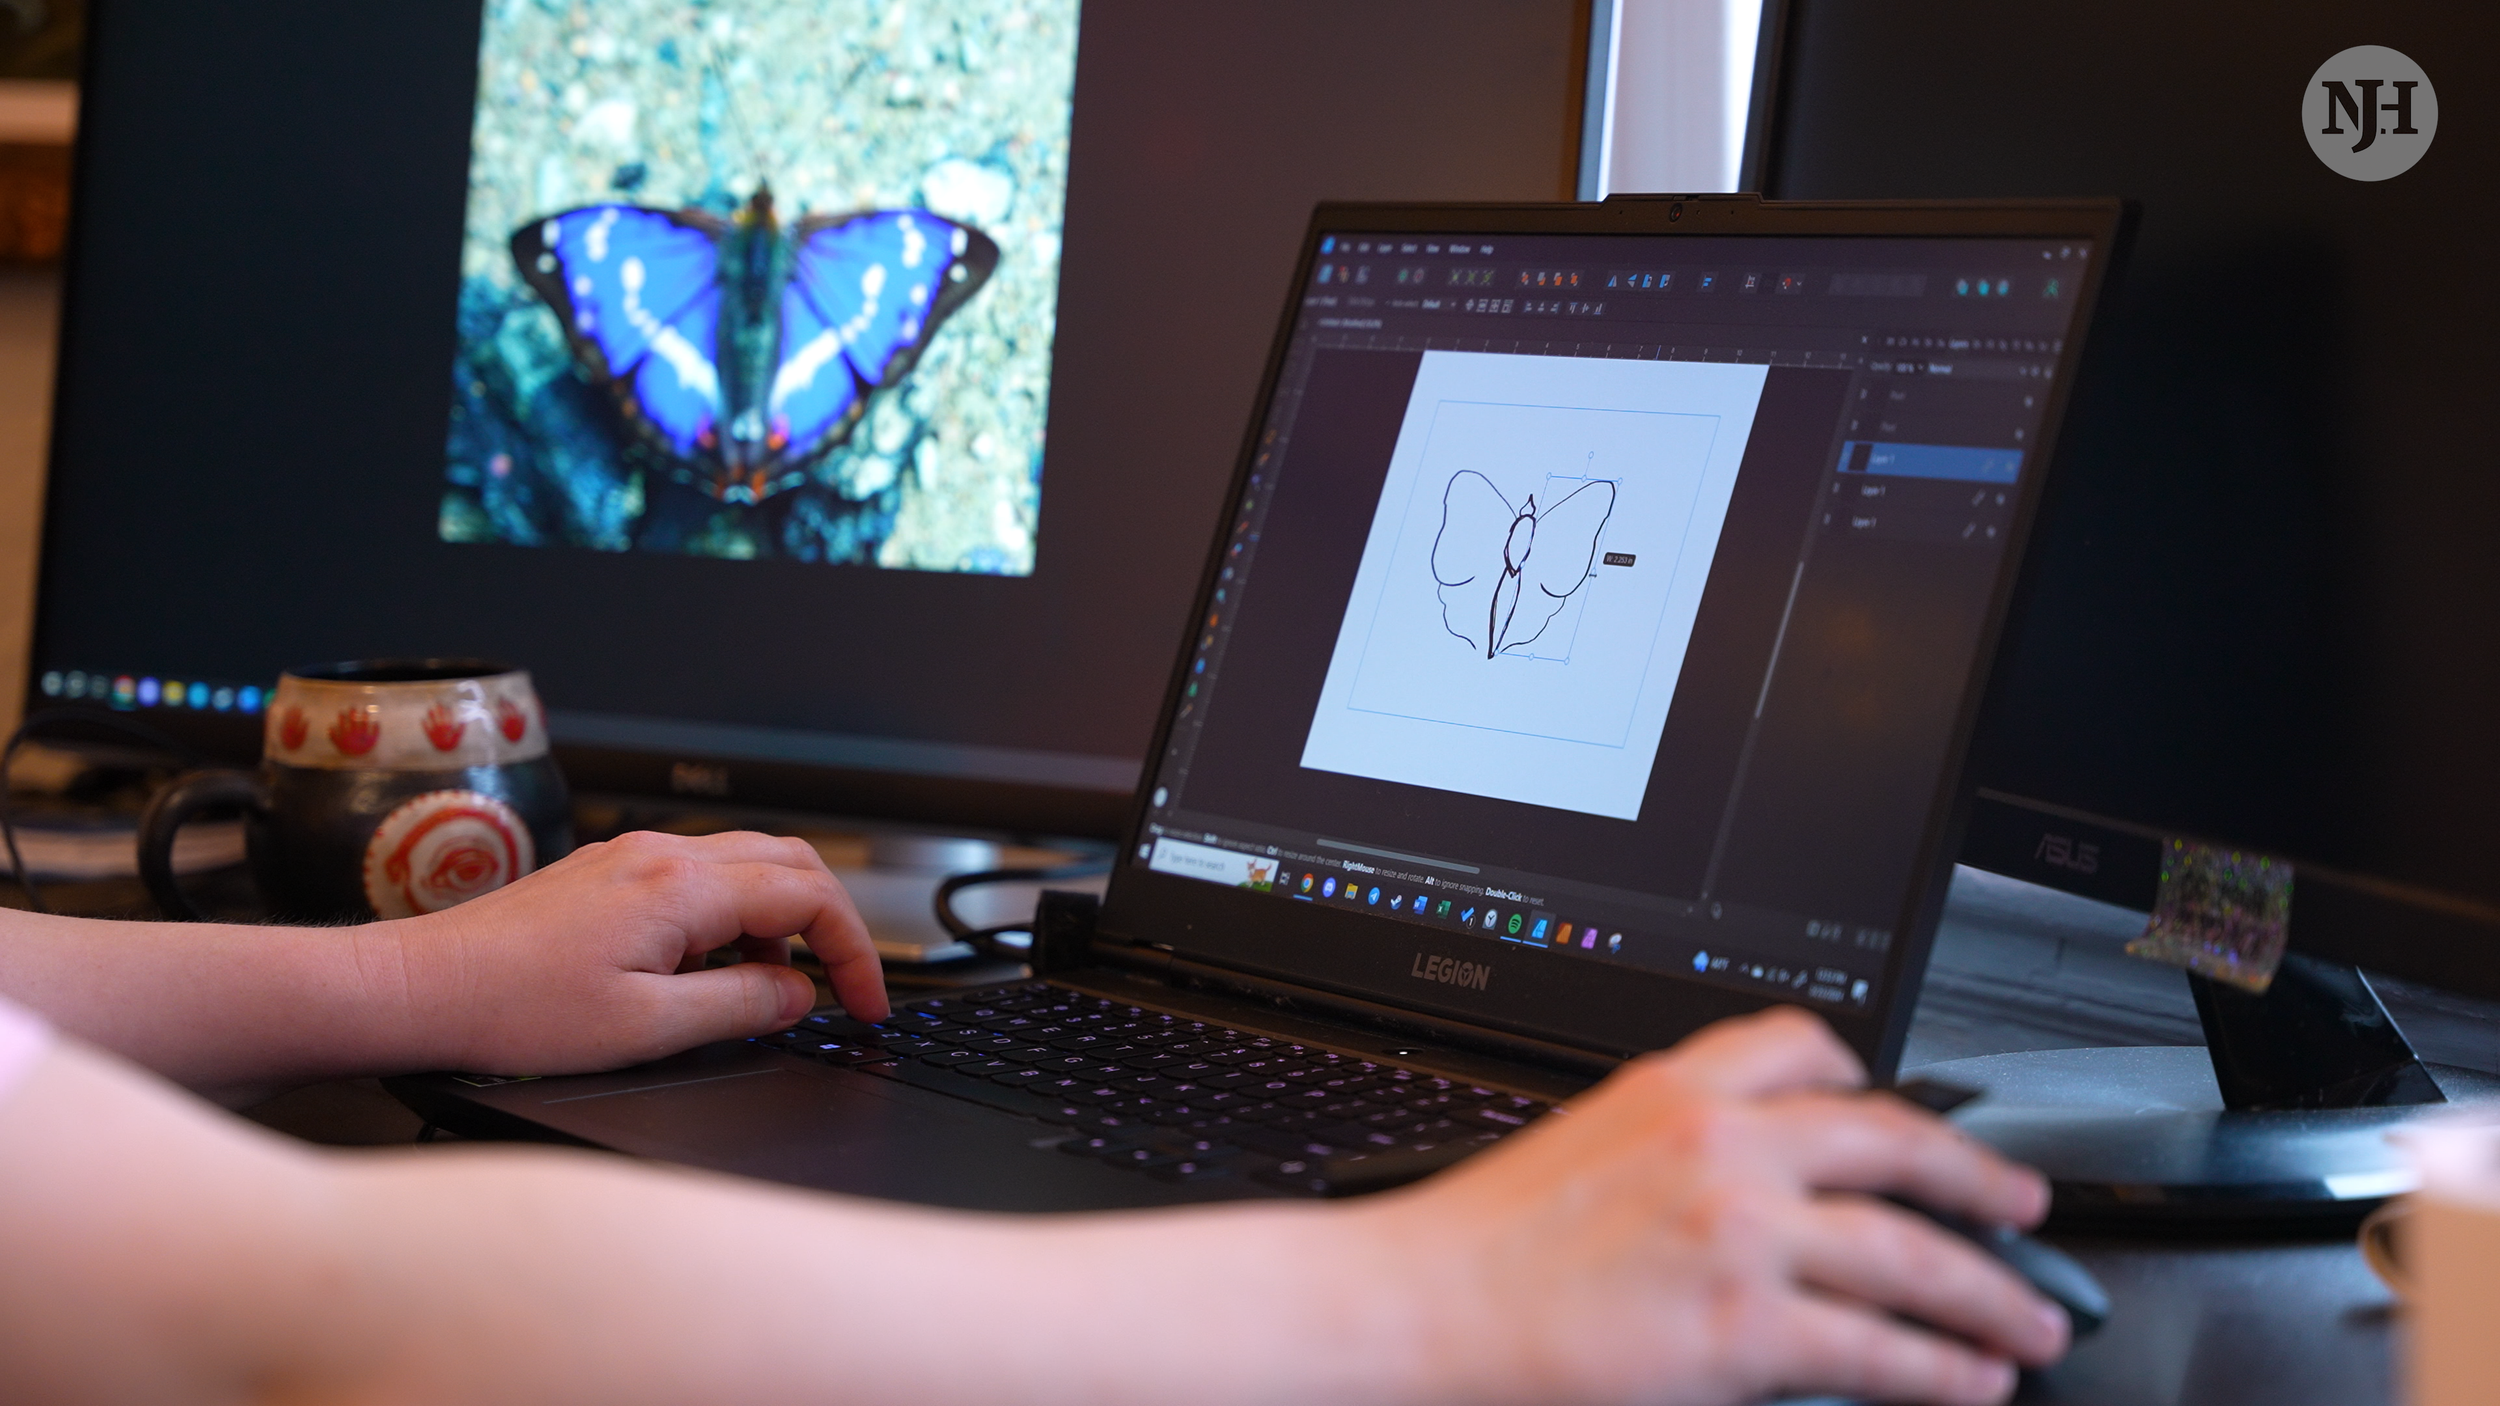
Printmaking is an art form that combines many different mediums. It’s part drawing, part carving, part printing. You get to experience many features of crafting and fine art.
And most uniquely, prints are reproducible to an extent. The block that you create can print the same image over and over with different types of ink. They’ll also be one of one as every print comes out different.
An Introductory Guide to Printmaking Tools
written by Casey Williams @Luminoom
Interested in leaping into the world of block printing, but not sure where to start? We’ve got you covered! Below I walk through important tools and tips of the trade:

Essential Tools
Your printmaking journey will begin with acquiring your core set of tools: a carving set, baren, brayer, block of lino (or other material of choice), ink, and paper.
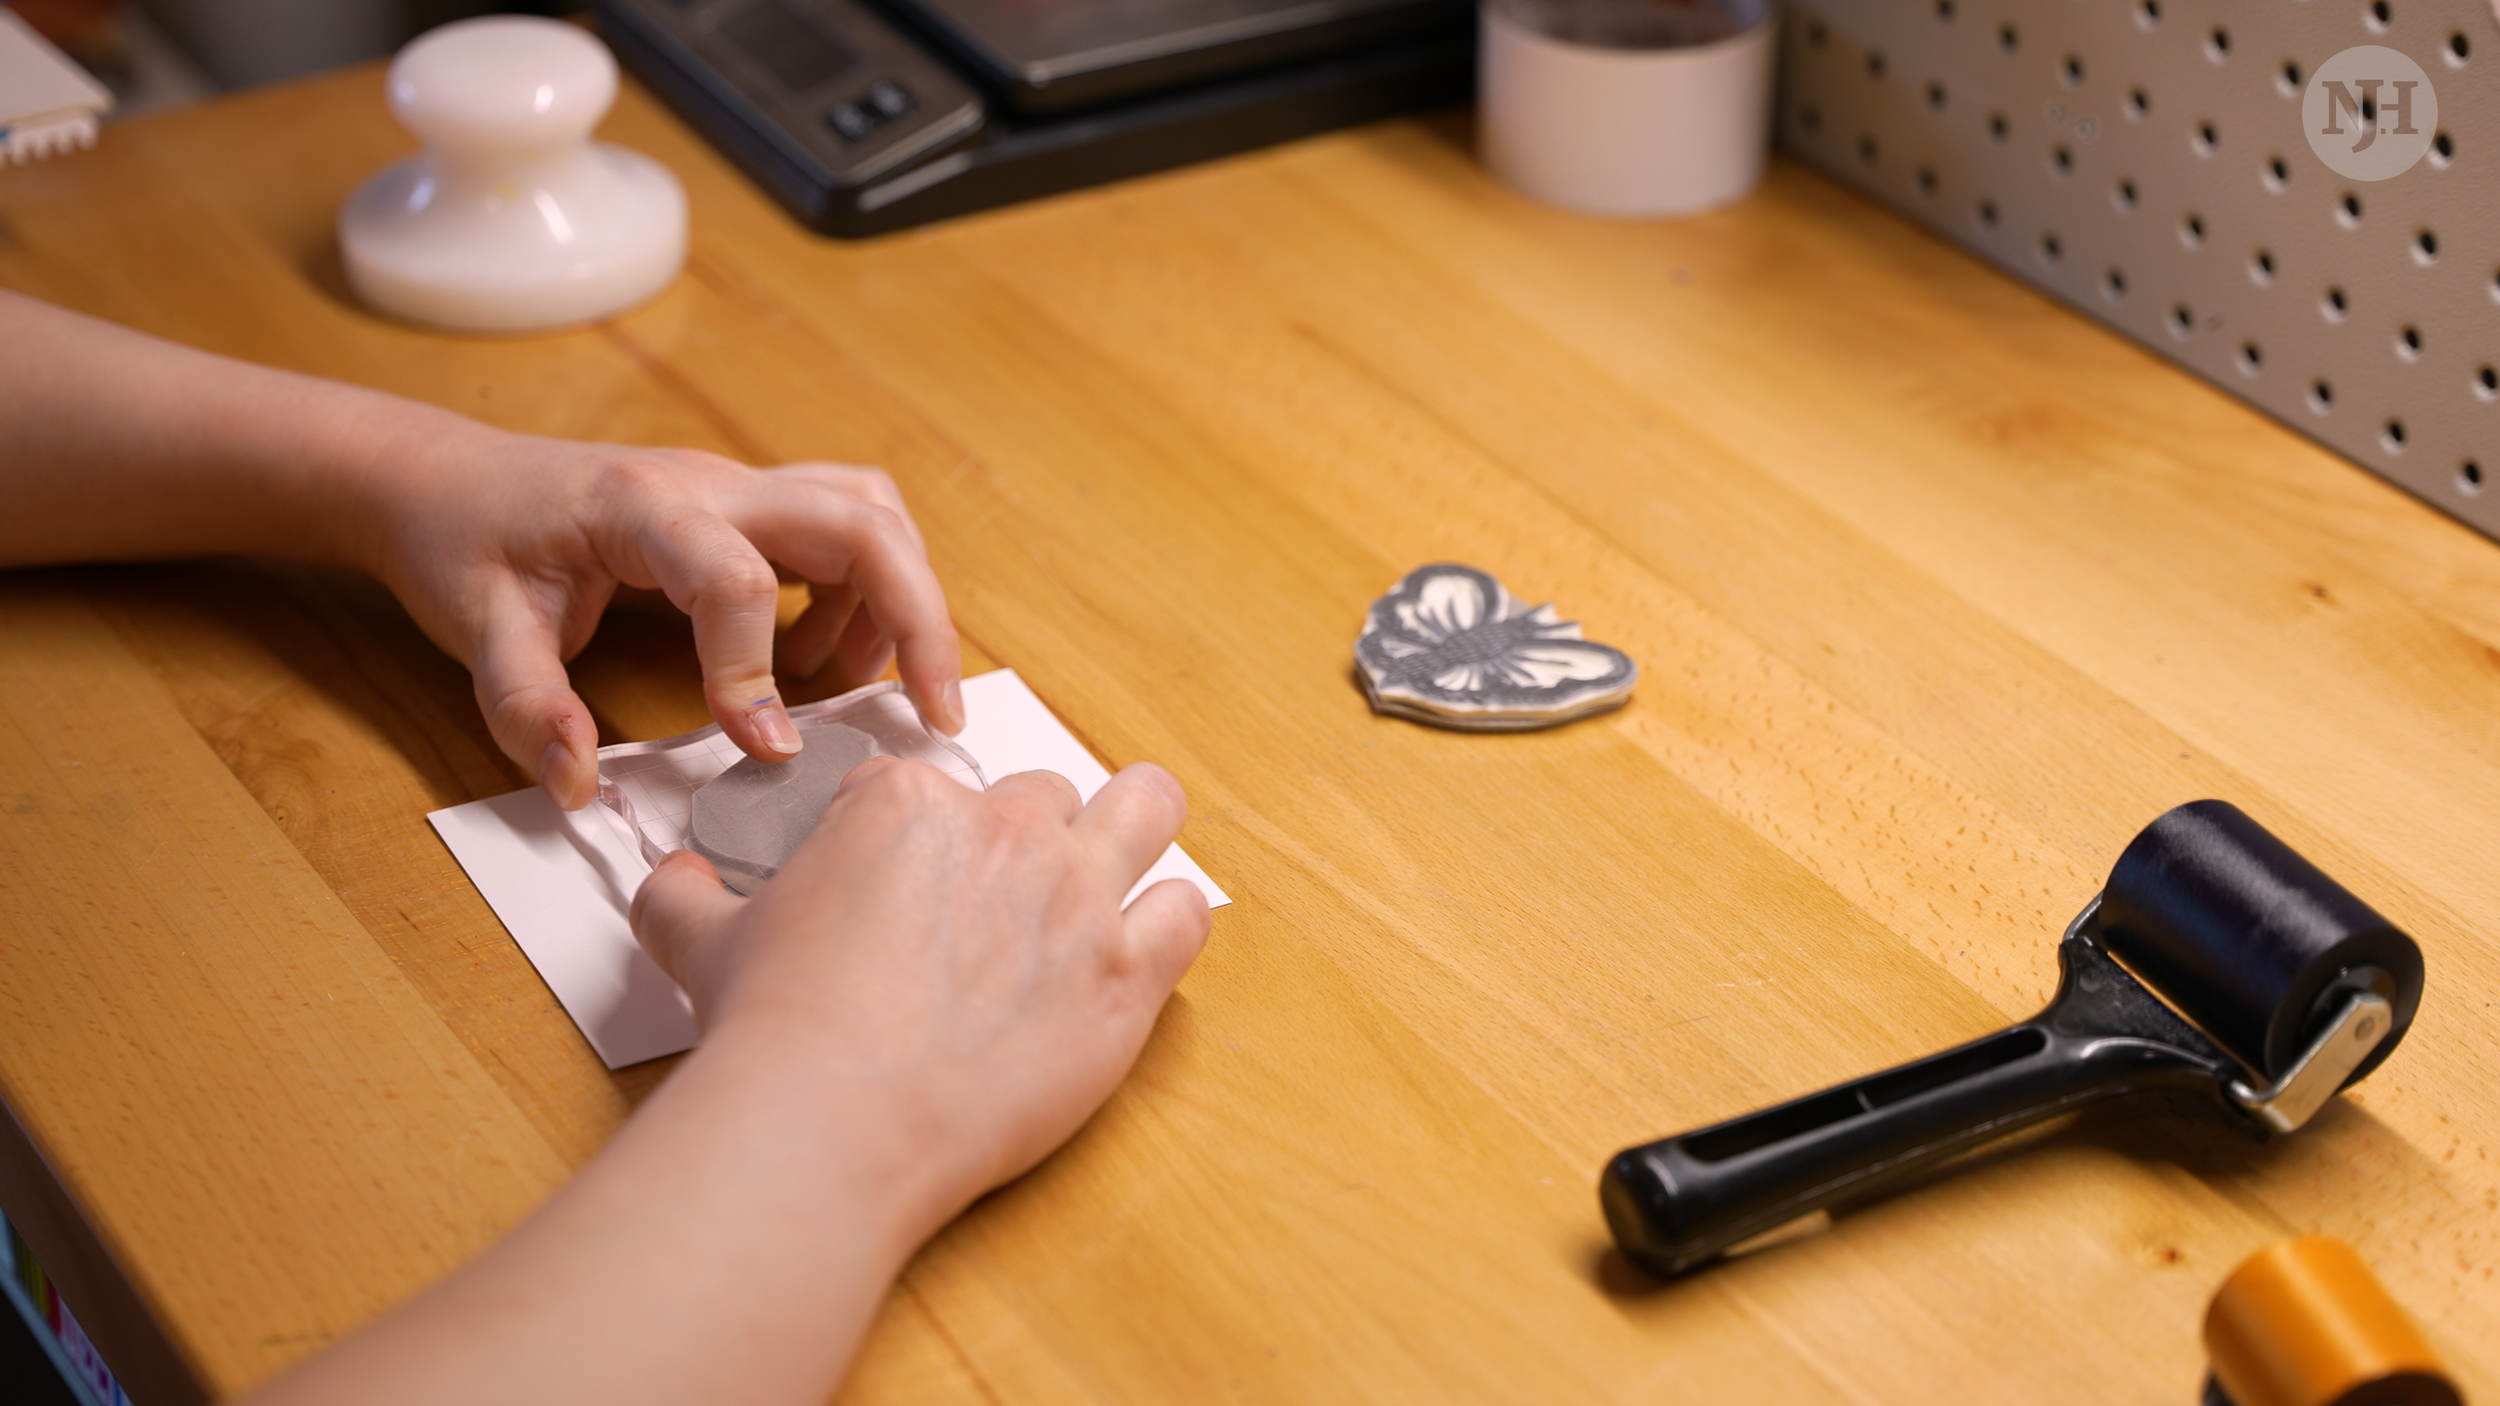
Carving Tools
This is pretty self-explanatory! But, here are some things to consider when purchasing your starter set:
Buy a variety set
Find a set containing a variety of gauge shapes and sizes. Variations in line width and weight boil down to how narrow and wide your cuts are. Additionally, gauges are made for specific situations. For instance, large U-shaped gauges are perfect for carving out lots of negative space (imagine trying to do that with a tiny gauge the size of a pencil point!)
Don’t splurge…but don’t cheap out either!
It may be tempting to order a run-of-the-mill carving set off Amazon, but cheap equipment can break and become unsafe. Additionally, cheap tools may be more difficult to maintain and make carving more difficult (which makes the process not fun!). I recommend purchasing a set specifically made for printmaking; Speedball has a great selection of affordable and beginner-friendly carving sets!
Baren
Barens are used to hand press your image onto paper. While a baren is a specific type of printmaking tool, I also consider any object capable of producing flat, even pressure to be a baren. Items that I’ve used as barens range from carved marble, bone folders, the back of a wooden spoon, and even the palm of my hand!
Brayer
A brayer, or roller, is how you apply your ink to your block. They look like mini paint rollers! While having one will do the job, having an assortment of brayers—especially in different sizes—will allow you to try out multi-color designs or special techniques, such as gradient rolls. Cleaning your brayer may seem like a hassle, but it’s actually not: grab your old junk mail, magazines, and catalogs and roll your brayer until clean! Spot treat any stubborn spots with a towel coated in rubbing alcohol or soapy water.
Linoleum
Linoleum, or lino, is a type of carving material (no, not the stuff off your bathroom floor!). There are soft and hard linoleum blocks. Softer linoleums tend to be easier to carve and are often made from vinyl. On the other hand, harder linoleums are more difficult to carve than soft lino, but make for more detailed carvings. Applying heat to hard linoleum can make it more pliable—some folks will use a blow dryer to spot treat their blocks or place their blocks in a warm oven. I recommend trying out a variety of block printing materials to see what feels best (lino comes in a variety of pre-cut sizes—perfect for testing!)


Inks
Imagine you’re in your local art store, raring to pick out some inks. Maybe you’ve mused about what color you plan to buy. Then you enter the printmaking section and are inundated with dozens of options varying by brands, mediums, and even ink ingredients.
One of the most common issues I see from beginner printmakers is using the wrong ink type for their project. Not only is it a waste of money, but it can be demoralizing having to redo a print run due to improper equipment. In the sections below, I’m going to walk through some basic qualities to be mindful of when selecting your inks:
Printmaking Techniques and Mediums
Printmaking inks are not multi-use: inks are often made for a specific printmaking medium or material. For instance, inks that work well on paper will not work well on clothing: fabric inks have been optimized to stay colorfast even when washed, stretched, and worn repeatedly.
Additionally, avoid buying inks that do not state “relief,” “stamp,” or “block printing” on the label: it may be tempting to snag a can of screen printing ink and call it a day, but other printmaking techniques vary in their processes, meaning these inks are not intended to be used on a block carving. It would be like trying to fit a square into a circle-shaped hole. Ensure that your medium of choice is noted on the ink tube or can.
Oil-based vs. Water-soluble Inks
You’ll come across inks that note they are either “oil-based” or “water-soluble”. Neither is right or wrong to use, though there are some key differences to keep in mind:
Cost: Most water-soluble inks are cheaper than oil-based inks, making them an affordable option for a beginner.
Vibrancy: Oil-based inks tend to have greater lightfastness and pigmentation, which means colors are vibrant and long-lasting. A common complaint of basic water-soluble inks is that prints tend to be blotchy and patchy, and creating clean, consistent prints can be challenging.
Drying time: Water-soluble inks dry incredibly fast. Your average print will be dry within a few hours. Oil-based inks can take up to a week to be fully dry. There are pros and cons to this: a slower drying time means you spend less time reinking your plate and block as the ink will stay moist and tacky for longer. Water-soluble inks then require repeated re-inking due to their rapid drying times (but is awesome if you procrastinated the night before an art market 😉)
Durability: water-soluble inks are more likely to become reactivated when touching water. If you’re interested in applying paints and watercolors to your dry block prints, you may run into some issues. Oil-based inks will hold fast even when submerged in water.

Paper
The options are endless when it comes to paper! Your first instinct may be to look at the size and color of the paper, but I would argue that there are two critical details to keep in mind when making your choice: weight and texture. These two qualities can not only impact the quality of your prints, but can affect the ease of the printing process. Pro tip: these rules also apply to fabrics!
Weight
When shopping for art papers, you may notice references to “gsm”—this value is the weight of your paper. “Gsm” stands for “grams per square meter,” but the important thing to remember is that the higher the gsm value is, the heavier and thicker your paper is. On the other hand, the lower the gsm value, the thinner the paper is.
Lower gsm papers (around 35 – 70 gsm) tend to be easier to handprint on and require less pressure to print clean designs. Heavier gsms (over 120 gsm), may require the use of machinery, such as a printing press. While it is possible to print on heavier papers by hand, you may need to reapply ink and pressure multiple times, which increases your risk of introducing errors into your project. As a side note, lower gsm does mean delicate or fragile: many light gsm papers, such as kozo rice paper, are nearly translucent, but are incredibly strong and durable.

Texture
Texture is how smooth or rough your paper is. Unfortunately, this is not as quantifiable as paper weight (there is no convenient value or rating to keep an eye out for!), but it takes less no-how: all you need is to touch and see the paper.
For instance, are there fibers sticking out from the paper’s surface? Does it look like hundreds of little threads are holding the sheet together? When you touch the paper, does your finger get caught on its surface; do you feel grooves, bubbles, and bumps? Then your paper is very textured.
On the other hand, is your paper one flat, homogenous item? When you touch its surface, is it smooth? Is its texture consistent across the entire sheet? Is light evenly distributed when you hold it up? Then your paper lacks texture.
Texture is important to printmaking: the more textured your paper is, the more difficult it will be to print a clean, cohesive image. This isn’t to say that texture should be avoided: Lokta paper, which is a handmade paper from Nepal, features predominantly in my work due to its vibrant colors and unique quirks due to its handmade process. When beginning your printmaking journey, I’d recommend opting for papers with a smooth texture, then once comfortable, you can experiment with more textured, handmade papers.
Secondary Tools
These items are not specific to printmaking, but will improve the process immensely—bonus points for being useful across many art disciplines!
A regular ruler and a large L-shaped ruler
Self-healing cutting mat
Bonefolder
Pencils
Soft - medium hardness graphite pencils
Transfer/drafting paper
Discover more hobbies.
Speed Puzzling

Origami

Cycling
Discover more of Casey’s speed puzzling on Instagram @Luminoom.