
Bookbinding
written by Jessica @floralbearies
Where to start?
Bookbinding can seem a little daunting at first, but there are many ways to make a first book a lot simpler. Like starting with a pamphlet bind, for example, or rebinding a book from your shelf. The first step would be to look for tutorials on it. YouTube has a plethora of them, but my favourites are from DAS bookbinding and Four Keys Book Art. I also learned a lot from Bindrebindery’s Patreon page.
I made my first book with materials I found in my house: I upcycled a curtain into homemade bookcloth, reused some boards from old paper pads, and folded a cotton ribbon into makeshift headbands, I used regular white glue and a Sharpie pen as a bonefolder. Of course, I wouldn’t recommend these materials for a book I wanted to read and cherish for many years to come, but it was a nice way for me to try a new hobby without investing too much money into it.

BOOK REBINDING
If you have a book on your shelves with a half-torn cover, or a design that you dislike, you could rebind it! Rip that old cover out and replace it with something of your own! The technique is pretty much the same but often is quicker for you already have the text block.
Copyrights prohibit binders from printing published stories, so rebinding a book that has been bought is a way to remake the book legally.
Most copyright free stories can be found on Project Gutenberg if you are interested in typesetting a classic and printing it yourself.

BINDING FANFICTION
Fanfiction can only exist if it remains free. It’s perfectly fine as long as no money is involved, but it could cause a lot of juridic turmoil and copyright issues if we’re not respectful.
The Fanfiction authors use characters, worlds, and places that are copyrighted, therefore are not allowed to make any money from it. They write these stories and share them with the world as a gift and therefore, these stories need to be treated as such.
The same goes for fanart and shared typesets.
The first and most important rule is that none of it should be done for profit. Under no circumstances should a bound fanfiction be sold or bought. It endangers the fandom, and it is a generally pretty nasty thing to do to an author who can make no money from it in the first place.
There is fanfiction binding etiquette, and the best way to navigate it is to ask permission. Everyone has different boundaries, and it can be intimidating, but asking permission to bind a fanfiction, to use someone’s art or another binder’s typeset goes a long way. Some will have their blanket policies up on their social media pages so they’re easy to find.
Binding fanfiction is the ultimate hobby that has to remain a hobby!
This post by @DramioneSlytherinQueen explains it well.
TOOLS
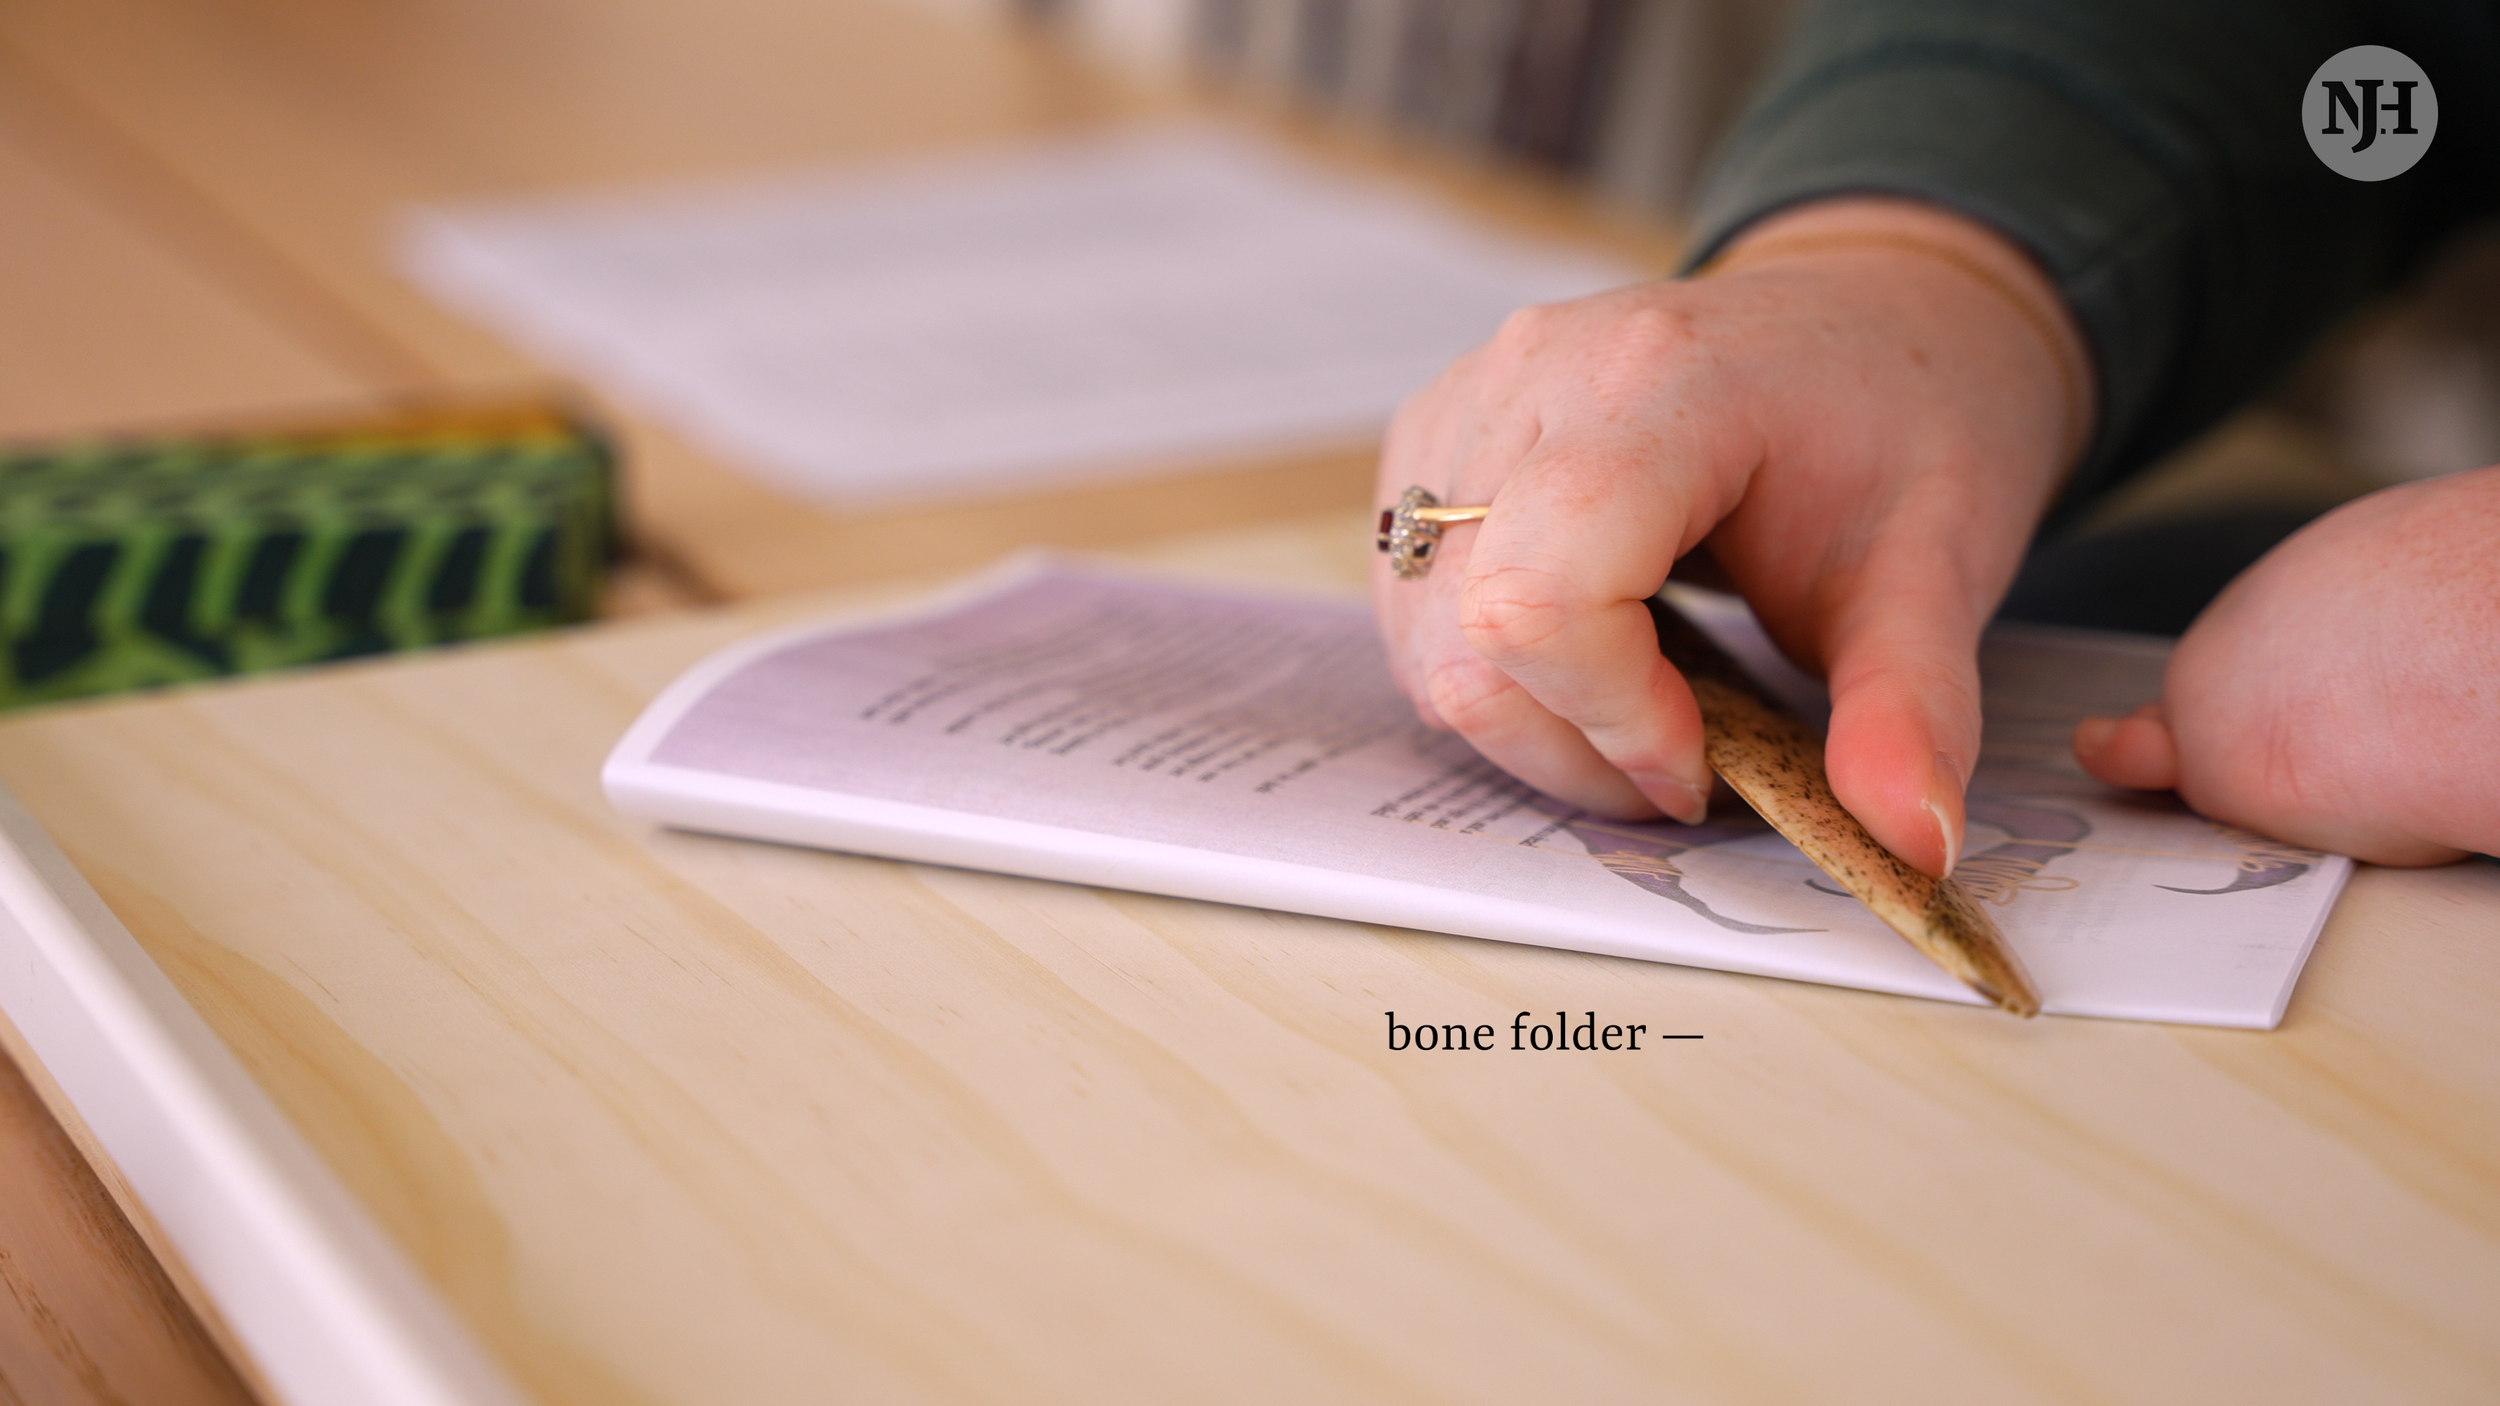
The first tool you will want to add to your bookbinder toolbox is a bone folder. The paper crane one featured in the video is from Handmadehappiness.ca but generic ones are available at any good craft stores. This is used to fold paper in a crisp line as well as creasing book cloth around the boards when covering the book.
Any sturdy box cutter with a fresh blade will do, and a metal ruler with a cork back is a must. Ph neutral PVA Archival glue is a good starting option. As it’s easy to find and should last a long time.
An awl, used to punch sewing holes in the signatures is also a must. You will need some waxed thread and bookbinding needles that can be curved or straight depending on your preferences. The punching cradle and T-spacers I use is from HoneyMinCo but some binders use a card stock homemade guide instead. A self-healing mat to protect your working surface is also a must have. And some glue brushes or silicon brushes can be found anywhere.
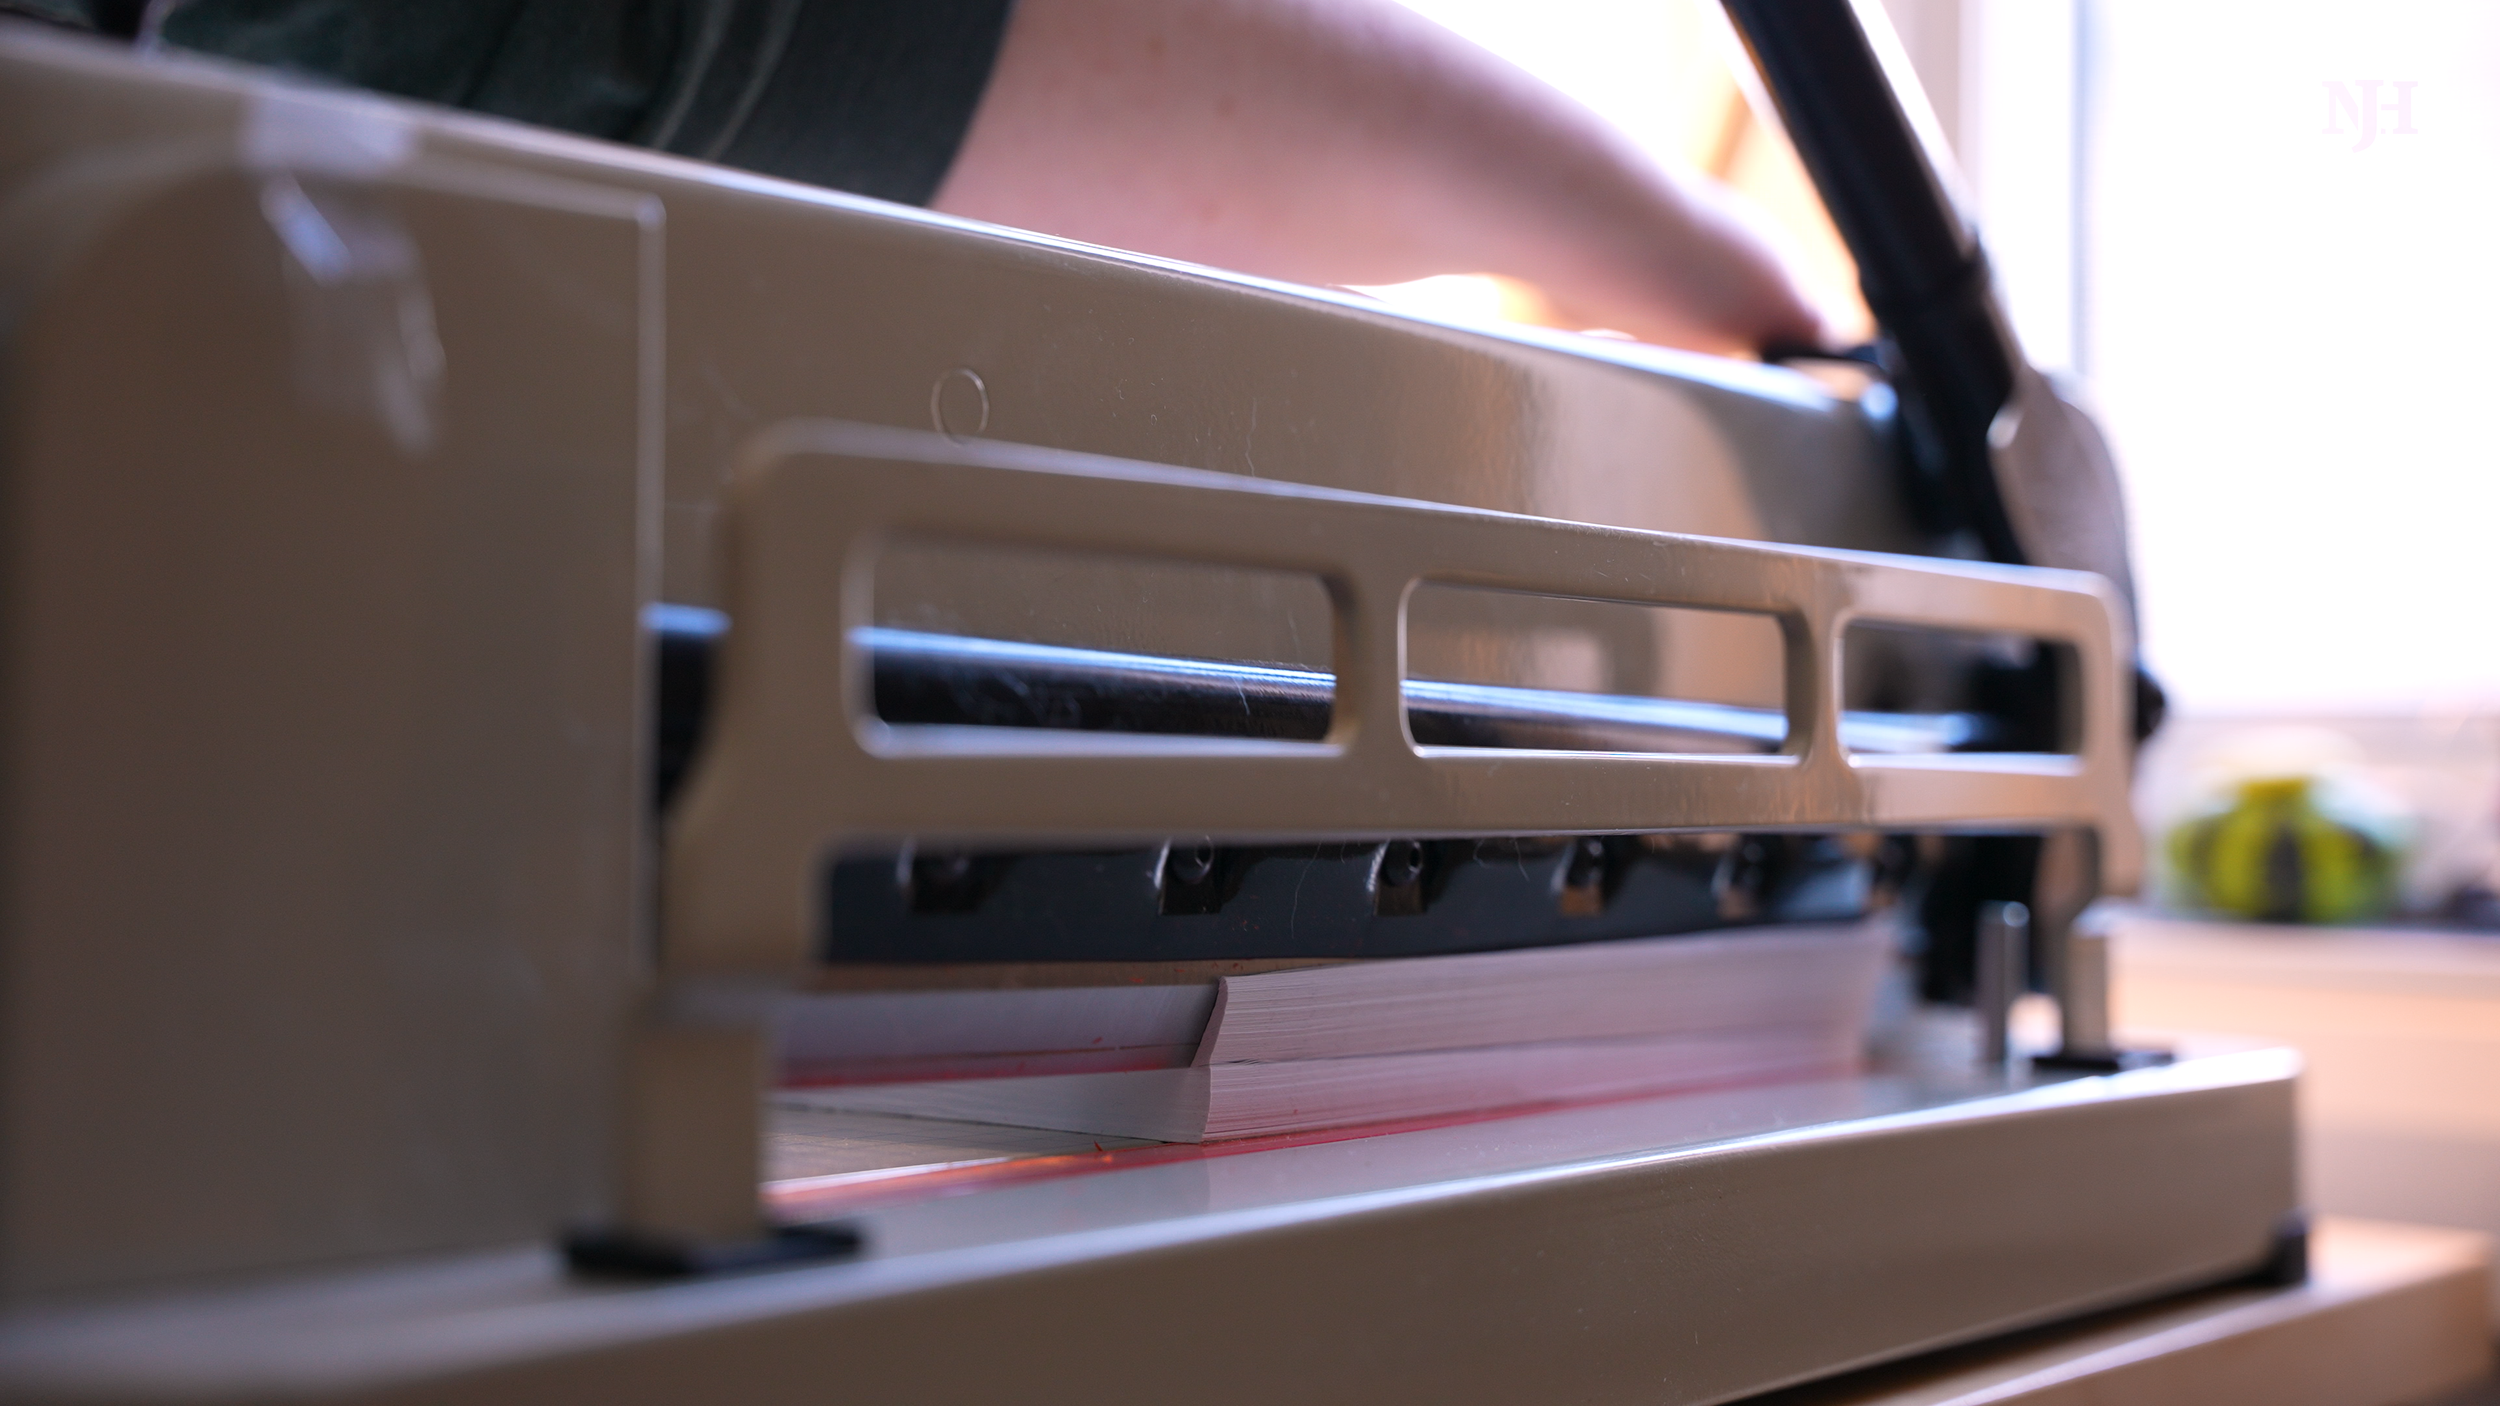
The guillotine is used to trim the text block to size if you don’t want deckled edges for a particular book.
Ideally, short grain paper in best if you print your own signatures, it makes the book easier to read and floppier. I personally cut my own 17 x11 printer paper into 8.5x11 to get the correct grain.

In this video, I use Microsoft Word to typeset the story, and I use Blak Book Bindery’s macro to help save time! I also use Adobe InDesign if the design I have in mind requires more options. Poppypressbindery has an in-depth bind-a-long series on her page. A lot of binders share their typesets if it isn’t something you want to tackle, I personally love JMbinding’s style.

Book cloth is harder to come by in Canada, so I use a lot of Wooqu rolls that I find on Amazon, but I prefer the brand Verona, from Hollanders. They also have a large selection of marbled papers, which are perfect for endpapers.
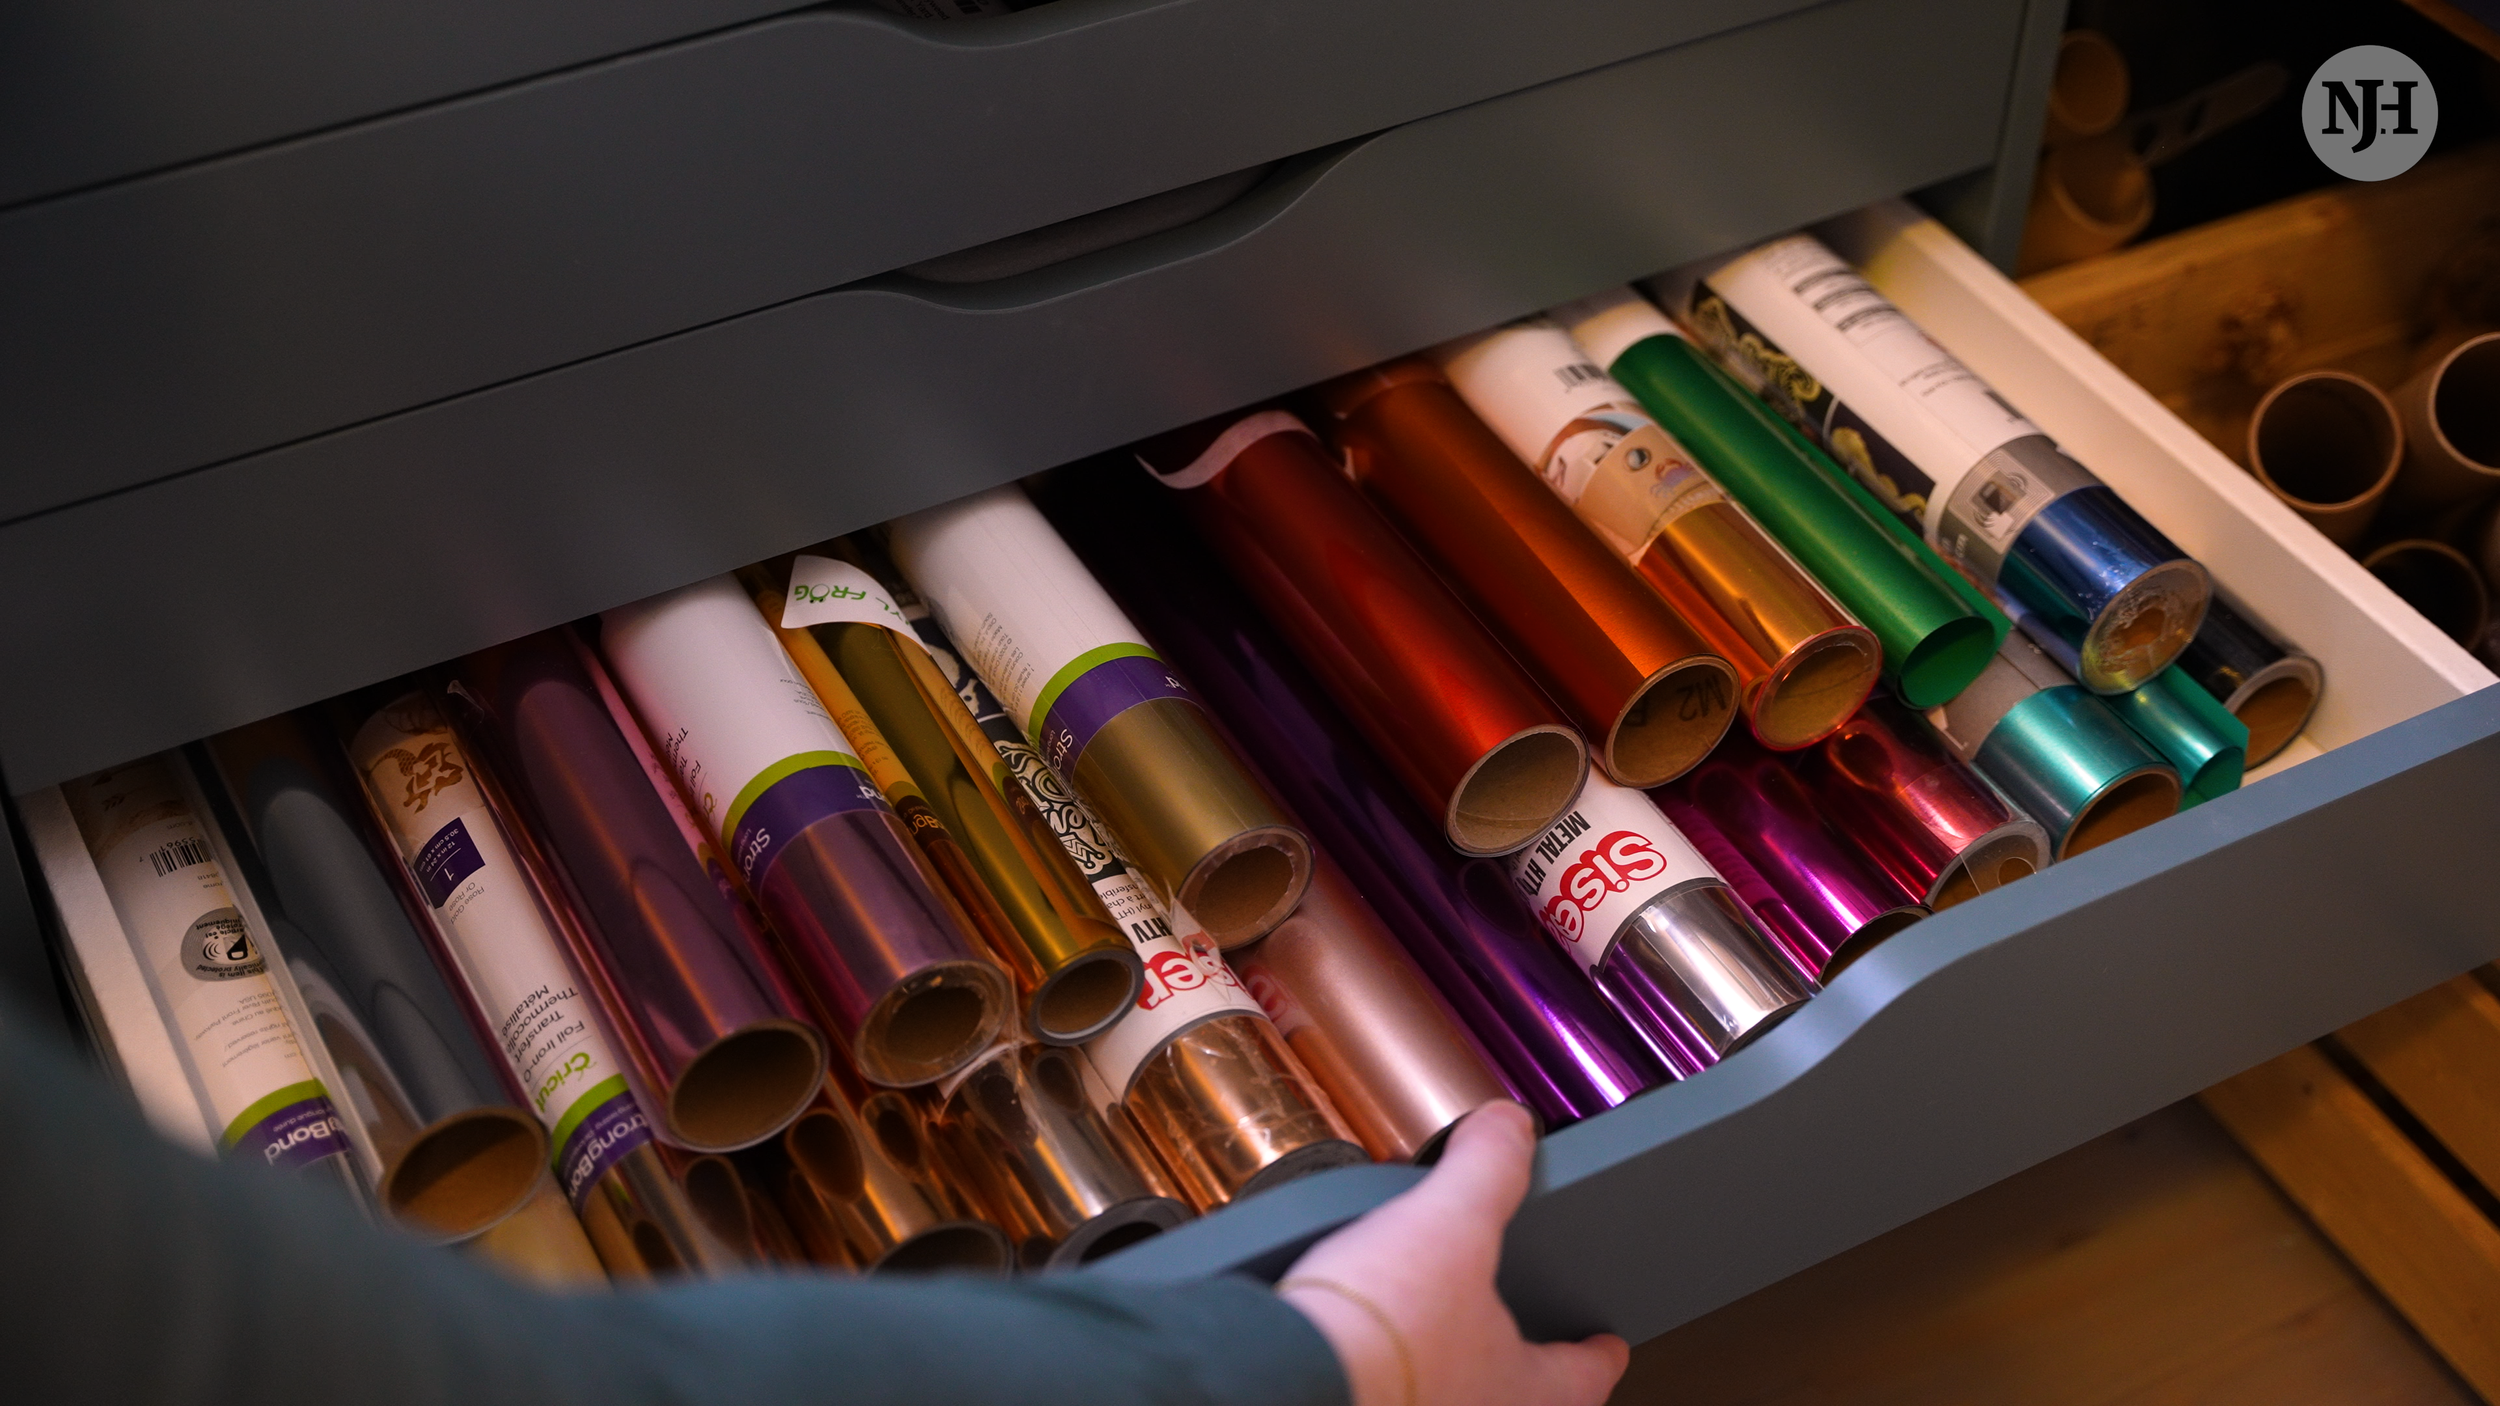
I personally use a Cricut machine to decorate my covers with Heat Transfer Vinyl (HTV). I But a budget friendly option could be to paint on your cover instead or use a foil quill!
I draw my own covers on my iPad using Procreate. Bu the Canvas works great too!
My presses are some antiquities I found on Facebook Marketplace, and one that my stepfather made for me. Having no access to presses shouldn’t be a problem, as they can easily be replaced by piling up a couple of bricks or dictionaries on your book as it dries.
It’s very easy to fall down a rabbit hole and buy everything under the sun even remotely related to bookbinding, but they aren’t all necessary. I would recommend starting small and building your tool collection as needed, and focus on quality tools, if you can.


Bringing stories into the real world
Books were once made by hand.
And they still are by the many bookbinders out there.
Whether it’s rebinding a cover for a published book you purchased or binding a new story of your own, the possibilities are endless when it comes to bringing written word into the real world.

A container
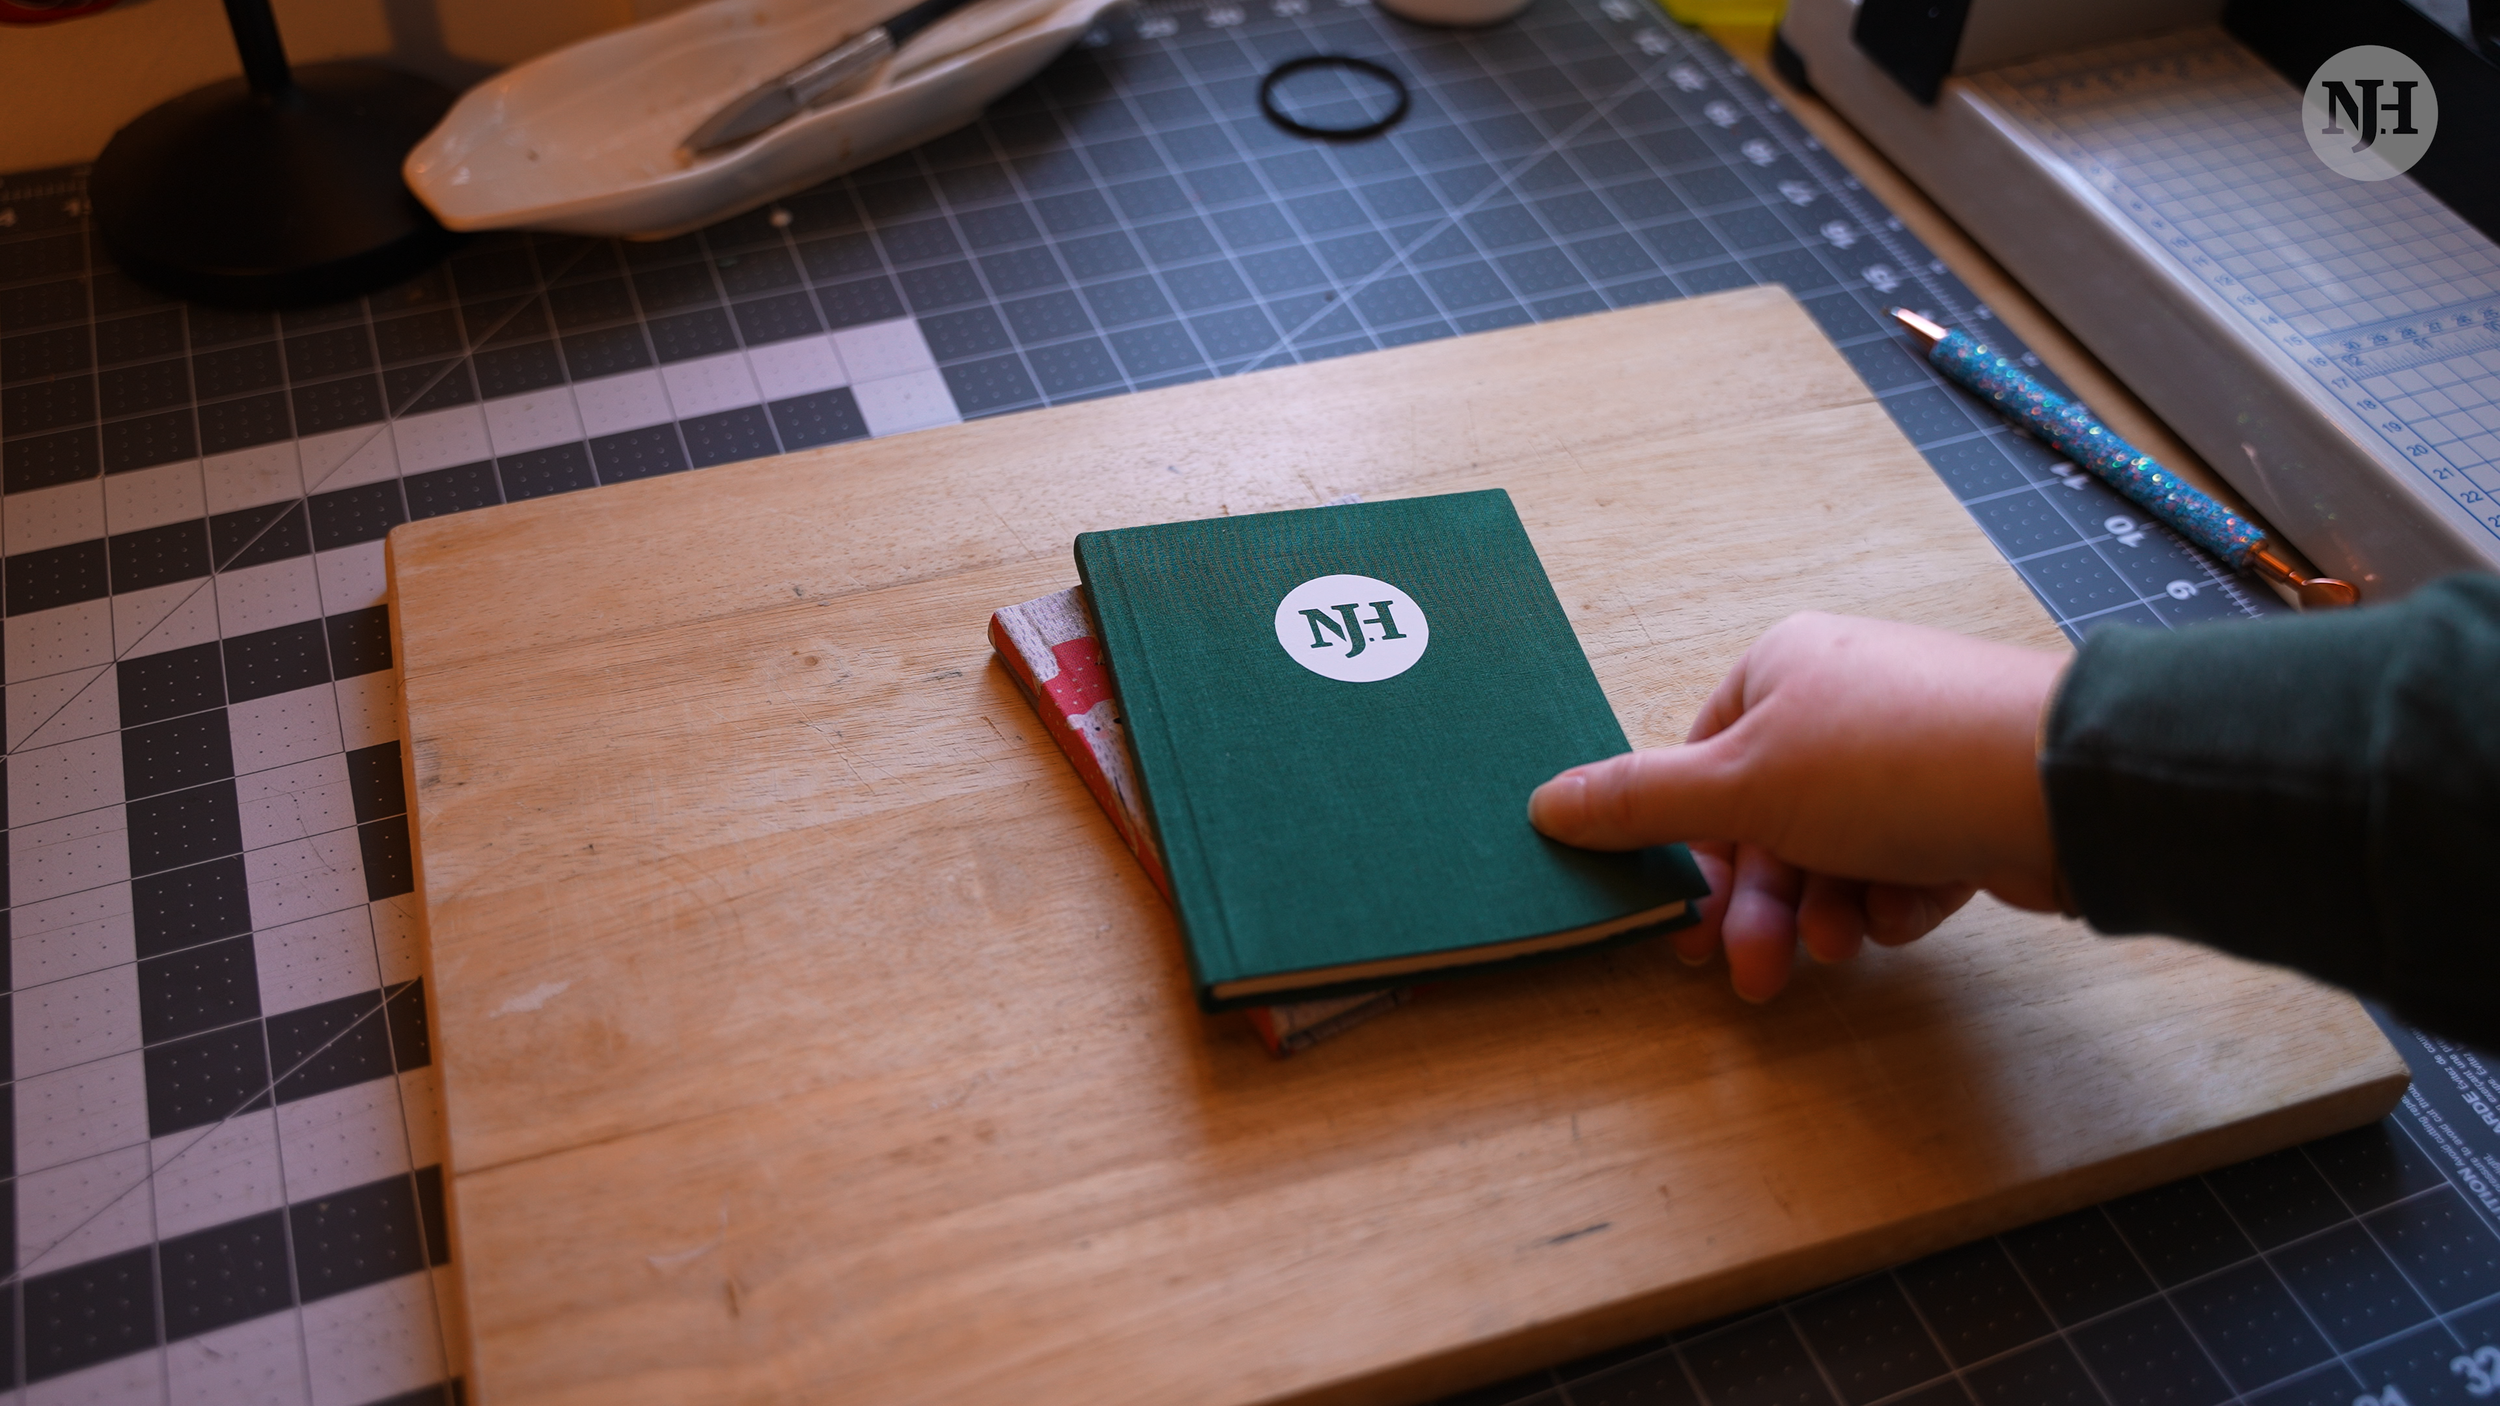
At the end of the day, a book is just a container for the story. It can be as simple as a blank cover and text on paper.
How magnificent you make it is completely up to you. You make a theme to match the fan fiction you love or a specific paperback so you can carry it around easily.
It’s all up to you.
Discover more hobbies.

Speed Puzzling

Cycling

Embroidery
Discover more of Jessica’s Bookbinding on Instagram @floralbearies.